English
Views: 0 Author: Site Editor Publish Time: 2026-09-18 Origin: Site
Property owners are rapidly replacing traditional timber with Wood Plastic Composite materials. Wood rots, splinters, and demands constant staining. Composite materials offer a permanent, weather-resistant boundary that eliminates heavy maintenance overhead. While these materials boast superior weather resistance, improper installation ruins the benefits. Ignoring thermal expansion tolerances causes severe buckling. Miscalculating post spacing leads to warping, structural failure, and voided warranties. Precision matters more with composites than with traditional wood. This guide serves as your technical roadmap for installing WPC fencing. We designed it to help contractors and homeowners mitigate implementation risks and guarantee structural integrity. Following these exact protocols ensures your boundary withstands wind loads and temperature fluctuations. Review our step-by-step installation video below to gain visual context before breaking ground.
Precision Spacing is Non-Negotiable: WPC fence panels require exact post-to-post measurements to accommodate modular tracks and thermal expansion gaps.
Foundation Dictates Lifespan: Post holes must reach below the local frost line and utilize proper concrete footings to withstand wind loads and prevent heaving.
Modular Assembly Streamlines Labor: Utilizing tongue and groove WPC fence panels significantly reduces fastening time compared to traditional picket-by-picket installation.
Thermal Dynamics: Grooved WPC fence boards expand and contract with temperature fluctuations; failure to leave manufacturer-specified gaps will cause buckling.
Before digging a single hole, you must establish clear site parameters. Accurate property line identification prevents costly legal disputes with neighbors. Never guess where your property ends based on old landscaping or existing tree lines. Hire a licensed surveyor to pin your corners if existing iron markers remain unclear. Utility marking ensures site safety and prevents catastrophic accidents. Calling 811 in the United States brings technicians to mark underground gas, water, and electrical lines. Striking a utility line causes severe injury and triggers massive municipal fines. Local zoning compliance dictates maximum heights, setback rules, and approved materials. Pull all necessary permits from your local building department before ordering materials or breaking ground.
Site preparation also involves clearing the physical fence line. Remove all brush, low-hanging branches, and debris that might interfere with your string line. A clear workspace allows you to pull a tight, unobstructed mason line, which serves as the absolute reference point for your entire installation. If you leave obstacles in the way, your string line will deflect, resulting in a bowed fence that looks unprofessional and compromises the modular track alignment.
Selecting the right profile determines both the aesthetic and structural performance of your boundary. Interlocking systems provide total privacy and high shear strength. Picket systems offer semi-privacy and decorative boundaries. You must match the material profile to your specific environmental demands and privacy needs.
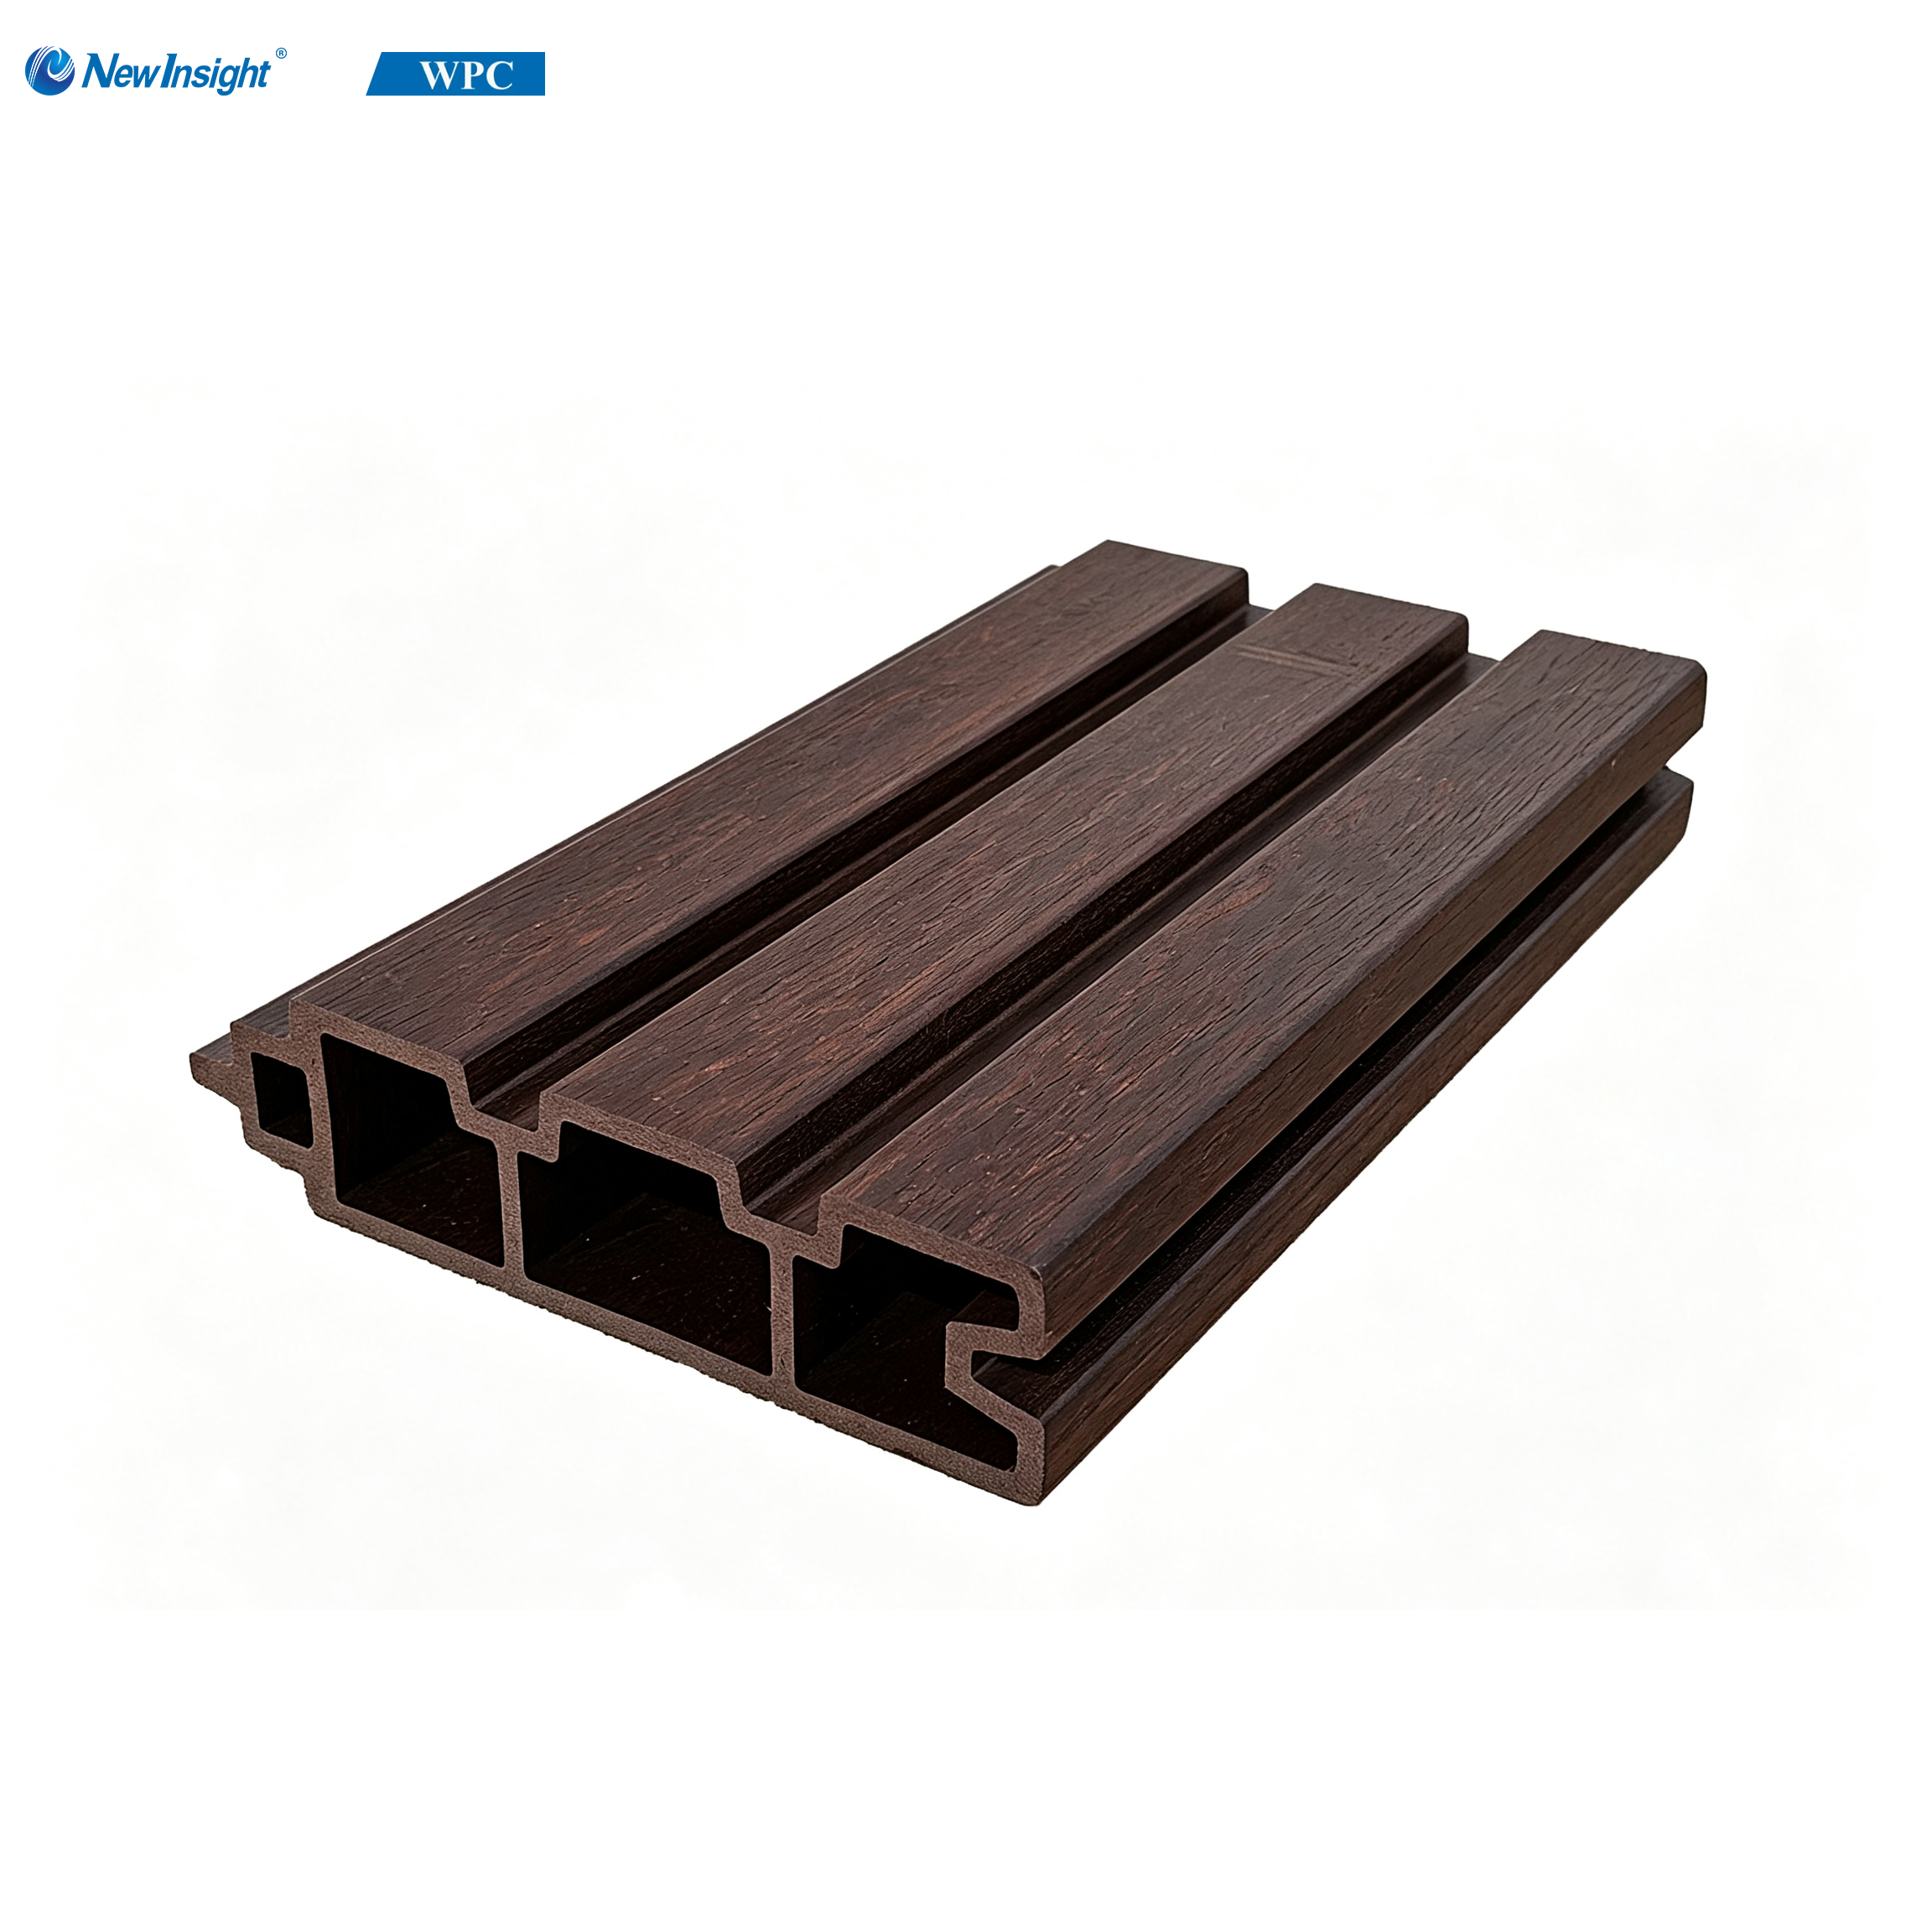
Tongue and Groove WPC Fence Panels eliminate gaps entirely. They utilize a click-in modular track that locks each board securely into the adjacent posts. This design creates a solid wall highly resistant to impact and completely blocks sightlines. Picket systems demand different rail spacing. They require individual fastener alignment for every vertical board, leaving intentional gaps for airflow. The modular track system reduces installation time by eliminating the need to plumb, space, and screw hundreds of individual pickets.
Feature | Tongue and Groove Panels | Picket Profiles |
|---|---|---|
Privacy Level | 100% Total Privacy | Semi-Private (Gapped) |
Installation Speed | Fast (Modular Stacking) | Slow (Individual Fastening) |
Wind Resistance | High (Requires heavy-duty post inserts) | Moderate (Allows air flow through gaps) |
Fastener Visibility | Hidden completely inside post tracks | Exposed on horizontal support rails |
Aesthetic Style | Modern, seamless, solid wall | Traditional, classic boundary |
Calculate material yield by dividing your total linear footage by the exact panel width. Always account for the width of the posts in your calculations. A standard panel section measures six feet, but the center-to-center post measurement dictates your actual yield. Order ten percent extra material to cover miscuts, accidental damage during handling, and general waste. Having extra boards on site prevents project delays if you make a cutting error on a custom end section.
Factor in long-term maintenance savings against upfront material premiums. Composites require zero staining, sealing, or painting. Evaluate your DIY feasibility honestly. The click-together modular nature makes panel assembly highly accessible for homeowners. However, complex grading, retaining walls, or rocky soil might necessitate hiring a professional contractor. Digging thirty holes through dense clay requires heavy machinery and physical endurance. If your site features aggressive elevation changes or solid bedrock, professional installation mitigates the risk of foundation failure.
Proper tooling prevents frustration and guarantees precision. Attempting this installation with substandard tools leads to misaligned posts and damaged composite boards. Gather these items before starting your layout:
Motorized earth auger with a 10-inch or 12-inch bit for rapid excavation.
Heavy-duty manual post hole diggers and a 6-foot steel digging bar for dislodging rocks.
High-visibility mason line, line levels, and wooden batter boards for layout.
Magnetic post level and a standard 4-foot aluminum spirit level.
Impact driver and power drill featuring adjustable torque settings.
Dead blow hammer and a non-marring rubber mallet for seating boards.
Wheelbarrow, heavy-duty mixing hoe, and shovels for concrete preparation.
Laser level or water level for establishing consistent top-of-post heights across long runs.
Safety glasses, steel-toed boots, heavy work gloves, and hearing protection.
The foundation dictates the entire lifespan of your boundary. A poorly set post compromises the entire modular system. Composites carry significant weight and offer zero flexibility. They demand a rigid, perfectly aligned support structure. If the foundation shifts, the interlocking boards will bind, buckle, or separate entirely.
Measurement "creep" poses a massive implementation risk. You cannot easily trim composite panels to fit irregular post gaps without extensive modification. Doing so compromises the modular track system and exposes the internal core to moisture. If a post sits half an inch out of position, the entire panel fails to seat correctly inside the channels.
Consult the specific manufacturer’s dealer guide. You need exact center-to-center post spacing before excavation begins. Do not assume a six-foot panel means posts sit exactly 72 inches apart. The internal track depth and the width of the post itself alter this measurement. Cut a piece of scrap lumber to the exact center-to-center measurement and use it as a physical spacing jig between holes.
Set batter boards at your corner points. Drive two stakes into the ground about three feet past your actual corner point and attach a horizontal crosspiece. Run your mason line across this board. This setup allows you to slide the string left or right to dial in your exact alignment without pulling the stake out of the ground. Use the 3-4-5 rule to square your corners perfectly. Measure three feet down one string, four feet down the intersecting string, and the diagonal distance between those points must equal exactly five feet. Mark your hole centers directly under the string line using bright spray paint.
Post hole depth follows a strict formula. Dig down one-third of the total post height above ground. If you build a six-foot fence, two feet of post must sit underground. Add six inches to this depth for a gravel drainage base. If you hit a large rock or root, do not shift the hole. Shifting one hole ruins the modular spacing for the entire line. Use a heavy digging bar to break up rocks or a reciprocating saw to cut through thick tree roots.
You must exceed local frost lines. This compliance prevents winter heaving from destroying your foundation. When groundwater freezes, it expands and pushes upward. If your concrete footing sits above the frost line, the ice lifts the entire post out of the ground. Check with your local building department to determine the exact frost depth in your region. Widen the bottom of the hole slightly to create a bell shape. This shape locks the concrete footing deep in the soil, providing massive resistance against upward frost pressure.
Add six inches of crushed gravel to the hole bottom. This layer provides essential drainage, keeping standing water away from the post base. Position your aluminum or steel post inserts directly in the center of the hole. Most composite systems use hollow composite sleeves that slide over these structural metal mounts after the concrete cures.
Mix your concrete to the consistency of thick oatmeal. If it looks like soup, you added too much water, which severely weakens the final compressive strength. Pour the concrete evenly around the post insert. Stop pouring about two inches below grade. This allows you to backfill with topsoil and plant grass right up to the post. Use a mixing stick to eliminate air pockets in the wet concrete. Before the concrete sets, use your trowel to slope the top surface away from the metal insert. This creates a watershed that prevents moisture from pooling against the metal.
Plumb the posts on two adjacent sides simultaneously using a magnetic post level. Check the distance to the next post one final time using your wooden spacing jig before the concrete sets. Mandate a minimum 24-to-48-hour curing period. Do not apply lateral loads or install panels before the concrete sets completely. Rushing this step guarantees a leaning boundary.
Once the foundation cures, the modular assembly phase begins. Slide the composite post sleeves over the metal inserts. This phase moves rapidly if you set the posts with high precision. Keep your workspace clean and organize your boards by length and color profile to speed up the workflow.
Maintain a two-inch minimum ground clearance across the entire bottom rail. This gap prevents moisture wicking from wet soil or snow accumulation. It also accommodates landscaping equipment, preventing weed trimmers from scarring the bottom board. If the ground rolls slightly between posts, measure your two-inch clearance from the highest point of the soil.
Attach bottom rail brackets directly to the posts. Use heavy-duty anchors to secure them firmly. Ensure the bottom rail sits perfectly level. If the bottom rail slopes, every subsequent board stacked above it will also slope. Use a long spirit level to verify the rail alignment before tightening the bracket screws. Double-check that the rail is fully seated in the brackets before moving to the vertical boards.
Grooved WPC Fence Boards slide down the post channels effortlessly. They interlock seamlessly through a precision-milled tongue and groove joint. This modular approach ensures consistent alignment. It completely eliminates exposed fasteners, creating a clean, modern aesthetic on both sides of the boundary.
When sliding the boards down the channel, they occasionally bind. Never strike the composite material directly with a metal hammer. You will shatter the outer protective capstock. Instead, place a scrap piece of wood over the top edge of the board and tap the scrap wood with a dead blow hammer. This distributes the force evenly and seats the joint without causing damage. Continuously check your progress with a spirit level. Check the level every three boards. Stacking panels without leveling causes compounding errors. A tiny gap at the bottom becomes a massive misalignment by the time you reach the top rail.
Composite materials possess a specific expansion coefficient. They grow in the heat and shrink in the cold. Ambient temperature during installation dictates your gap sizing. If you install the panels during the peak heat of summer, the boards are already fully expanded. You can leave a minimal gap, roughly 1/16 of an inch, at the ends. If you install during a cold winter day, the boards are fully contracted. You must leave a larger gap, typically 1/4 to 3/8 of an inch, because the material will expand significantly when summer returns.
Leave manufacturer-specified gaps at the board ends inside the post channels. Never jam the boards tightly against the inside of the post track. Failing to manage these thermal dynamics causes severe buckling. The boards will push against the posts, bow outward, and eventually snap the track. Use horseshoe shims as temporary spacers inside the post channel to maintain consistent gaps while you secure the panels, then remove them before securing the top rail.
Attach the top rail to lock the stacked boards in place. This rail serves as the final structural tie-in, providing downward pressure that keeps the tongue and groove joints engaged. Secure the top brackets using the provided hardware, ensuring the rail sits flush against the top board.
Apply exterior-grade adhesive to the post caps. Press them firmly onto the top of each post. This simple step prevents water ingress. Water trapped inside a hollow post freezes during winter, expanding and cracking the post from the inside out. The caps also provide a finished, architectural look to the completed boundary. Wipe away any excess adhesive immediately with a damp cloth before it cures on the post sleeve.
Flat yards present few challenges. Real-world installations often involve aggressive slopes, retaining walls, and high-wind corridors. Adapting the modular system to these environments requires specific structural modifications and careful layout planning.
You have two primary approaches for sloped terrain: stepping and racking. Stepping uses a stair-step layout. Each panel remains perfectly horizontal, but steps down the hill. This method requires longer posts to accommodate the drop. It leaves triangular gaps at the bottom of each section, which you may need to fill with landscaping or wire mesh to contain pets.
To calculate the drop for a stepped fence, run a level string line from the top of your highest post to the post at the bottom of the slope. Measure the distance from the string down to the ground at the bottom post. Divide this total drop by the number of panels in that run. This gives you the exact vertical drop required for each panel. Stepping the panels evenly creates a professional, deliberate aesthetic.
Racking angles the panels to follow the ground contour. The posts remain plumb, but the horizontal rails run parallel to the slope. Rigid WPC Fence Panels generally require stepping. Their interlocking nature resists vertical racking. Forcing a tongue and groove composite board to rack breaks the joint seal and voids the warranty. Always plan a stepped layout for composite materials on uneven terrain.
High wind areas demand structural upgrades. Solid privacy panels act like massive sails during a storm. Wind loads exert tremendous lateral force on the posts. In coastal regions or open plains, standard installation methods will fail under hurricane-force gusts.
Use internal steel post stiffeners to increase rigidity. These heavy-gauge steel inserts slide inside the hollow composite posts, anchoring deep into the concrete footing. Consider reducing panel width from six feet to four feet in extreme wind zones. Narrower panels significantly lower the wind sail effect and increase the overall density of structural posts along the boundary line. Ensure your concrete footings run deeper and wider than standard specifications when building in tornado-prone regions. A wider footing provides a massive concrete anchor that prevents the wind from leveraging the post out of the soil.
Understanding how installations fail allows you to build defensive strategies into your workflow. Most failures stem from rushing the foundation, ignoring material properties, or using improper fastening techniques.
A post out of plumb by a fraction of an inch creates massive problems. This error compounds over a six-foot span. If the posts lean toward each other, the top opening becomes narrower than the bottom. This narrowing makes inserting the top rail impossible. You will find yourself fighting the material, trying to force the top rail into a space that is too small.
Conversely, if the posts lean away from each other, the tongue and groove joints separate under tension. The boards will rattle in the wind and eventually fall out of the tracks. Take the extra ten minutes per post to guarantee absolute plumb alignment. Use a magnetic level on the metal insert and check it multiple times while the concrete cures.
Never over-torque screws used on brackets or rails. Impact drivers easily strip the composite material or crush the metal brackets. Excessive tension restricts the natural movement of the material.
Composites must slide slightly within their brackets to accommodate thermal expansion. Pinning them down too tightly inevitably causes stress fractures during temperature swings. You will see spider cracking radiate outward from the screw holes. Drive screws until they sit flush and snug, then stop immediately. If you accidentally strip a hole, remove the screw, fill the hole with exterior-grade epoxy, and drive a slightly larger diameter screw once it cures.
Measure your property lines and calculate the exact linear footage required for the project.
Order material samples to verify color and texture against your home's exterior finishes.
Submit your site plan to the local building department to secure all necessary permits.
Call 811 to schedule underground utility marking at least one week before excavation.
A: Yes. Structural requirements and wind load stability demand concrete footings. Composite materials carry significant weight. Setting posts in dirt or gravel alone guarantees the boundary will lean and eventually collapse under lateral wind pressure. Always use high-strength concrete poured below the frost line.
A: Yes, but doing so impacts the modular tracking. You can cut boards using a standard circular saw with a fine-tooth carbide blade to prevent chipping. Cut ends require careful sealing and custom bracket placement to ensure they remain secure within the post channels.
A: Standard industry tolerances dictate leaving specific gaps based on board length and ambient temperature. Generally, leave a 3/16-inch to 1/4-inch gap at each end. Always consult the specific manufacturer guide, as expansion coefficients vary by brand and core composition.
A: They are highly water-resistant composites, not completely waterproof. They withstand rain and snow without rotting. However, submerging them in standing water degrades the material over time. Proper ground clearance and gravel drainage bases remain essential for long-term structural integrity.
A: Mixing lifespans poses severe risks. Most modular tracks remain structurally incompatible with standard 4x4 timber posts. Furthermore, the wooden posts will rot long before the composite panels fail, requiring you to dismantle the entire system to replace the supports.
A: Setting and curing posts takes roughly two to three days, depending on soil conditions and equipment. Panel assembly takes another one to two days depending on crew size. Expect a full week for a complete, high-quality installation from layout to post caps.
A: Yes. The modular design simplifies assembly significantly compared to traditional wood. However, setting perfectly plumb posts requires patience, proper tools, and moderate construction experience. If you cannot dig deep holes or mix concrete properly, hire a professional contractor.